ADVENTURE-MOTORCYCLING-CAMPING & KITCHEN-GEAR
When I think back to my first motorcycle journeys, where the plan was to sleep overnight most of the time in a tent, I’m always surprised how much gear I had with me back then about 10 years ago.
The more my riding style changed from simple motorcycle journeying to amateur-dual-sport-adventure-motorcycling, all the more my used gear changed too. As a result the packing list shrunk.
With the following lines I’ll show you my personal dual-adventure-motorcycling compromise, focused on the following parts of gear: tent, sleeping mat, sleeping bag, stool and kitchen utensils.
INTRODUCTION: BACK THEN …
In former times, my …
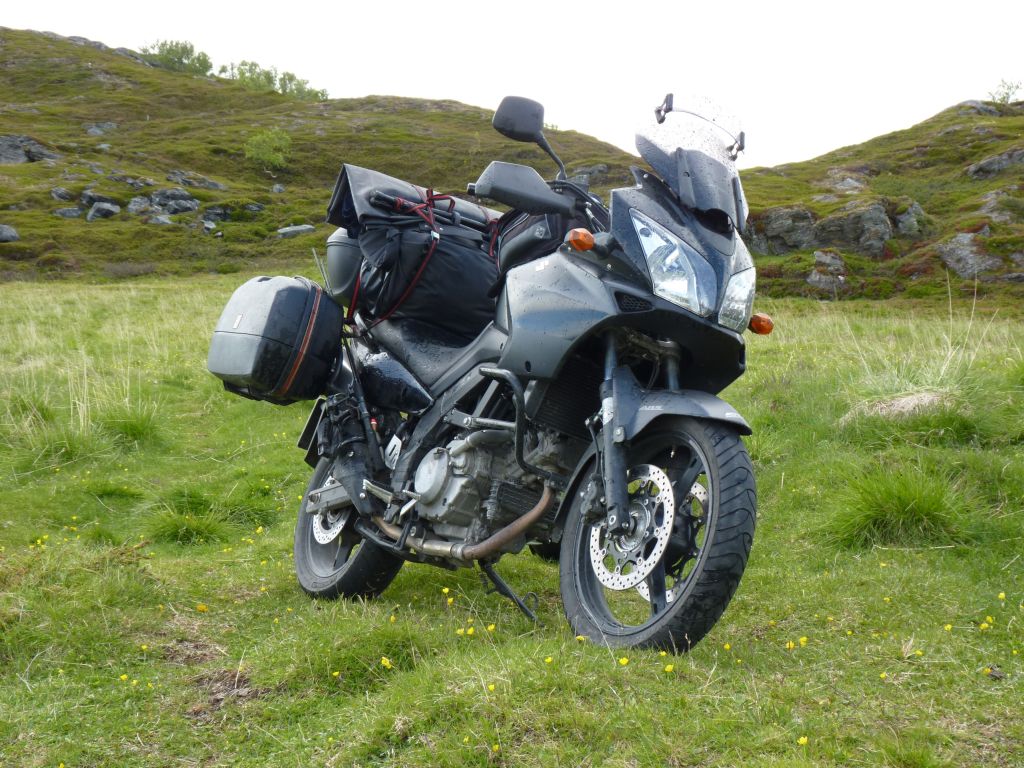
my bike of choice was loaded to the max whilst beeing on a camping trip. It surely exceeded the 260 kg of 570 lbs mark. 💪
Nowadays …
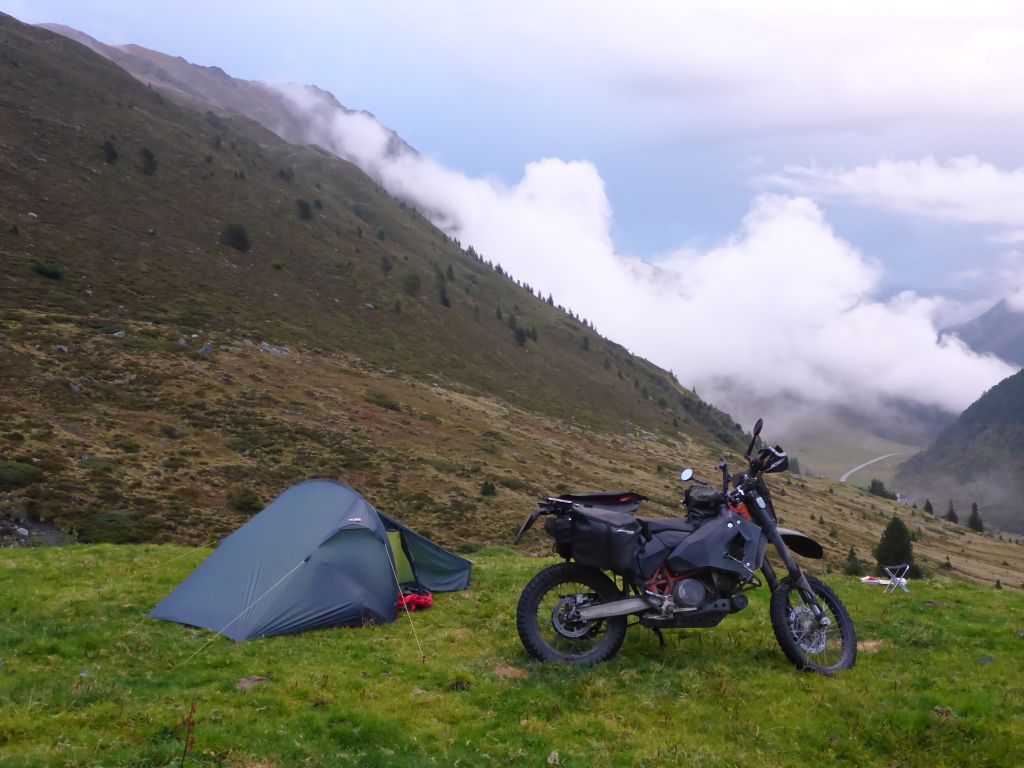
the bike and gear has changed. In the meanwhile, my stuff (camping gear, clothes, tools, spare parts, …) has reduced to a level, where all my gear for a 10-day trip is stowed in two midsize soft saddlebags, a small tank bag and a tool tube. This way, my fueled up and fully equipped black beauty Чернотa + luggage weights below 200 kg or 440 lbs. In my opinion this weight (200kg / 440 lbs) is the upper maximum for a dualsport-adventure-riding motorcycle, which is going to ride through mid-difficult terrain.
THE TENT:
For a long time (about 35 nights) I used …
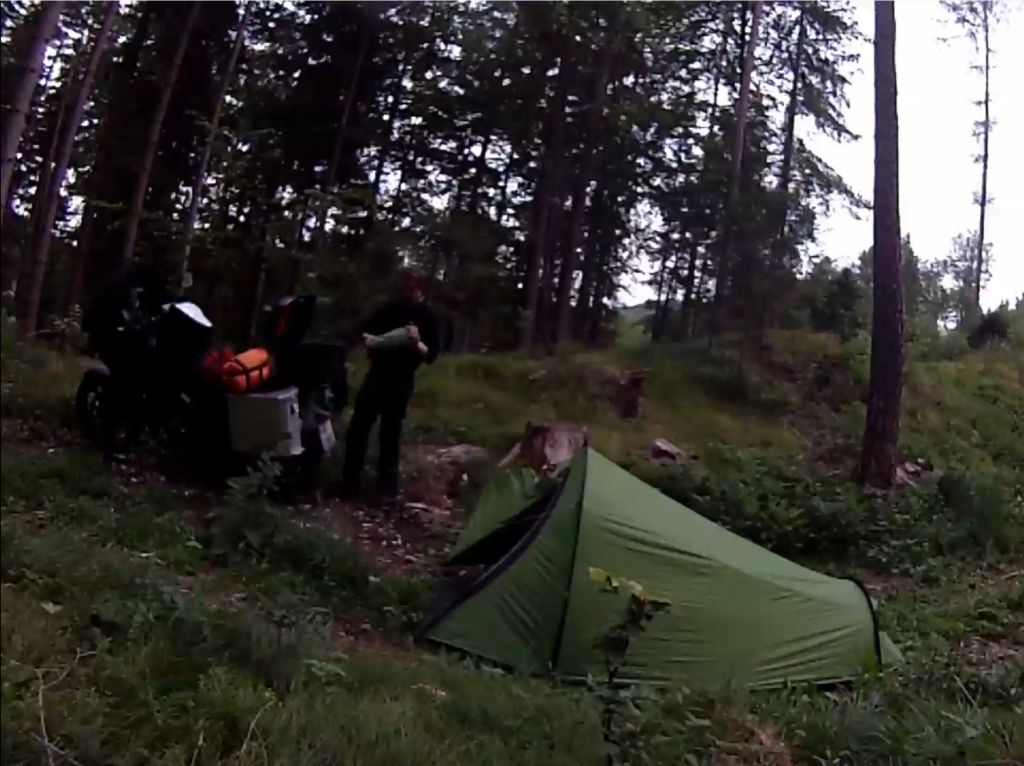
a “Avior X2” from Coleman. This two-man tent is sturdy and packs rather small. It has two zip entrance doors and …
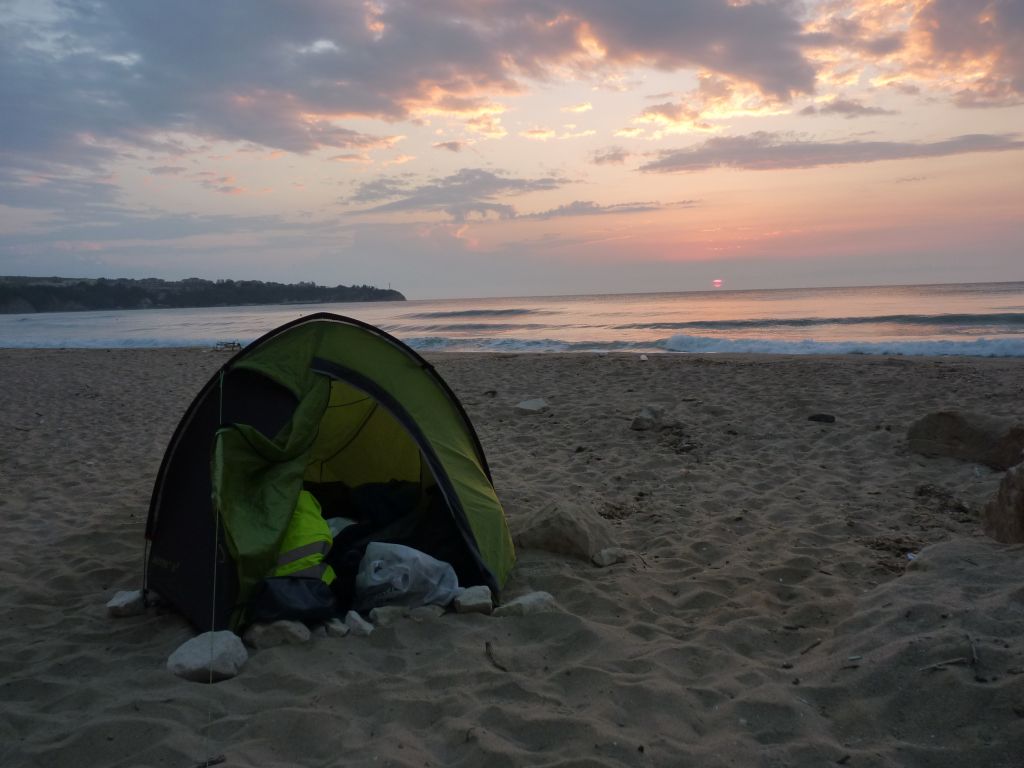
enough extra space for stowing the gear during the night in a dry area.
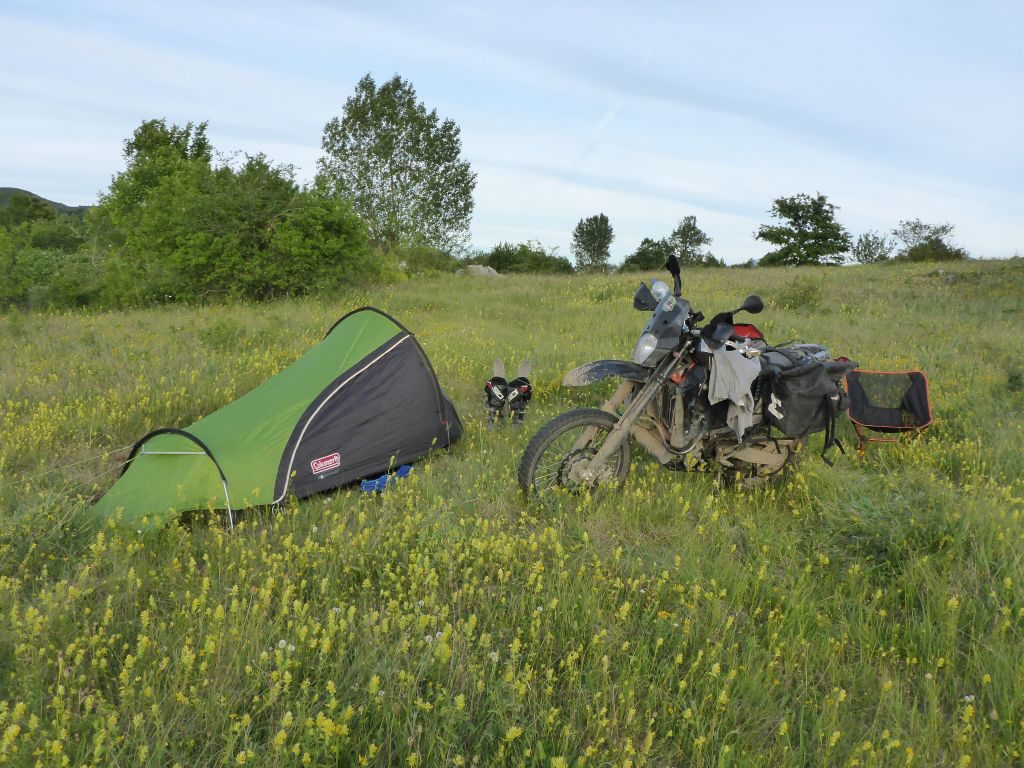
But after using the Avior X2 for a few times on my 690ty, it was clear for me, that I need a tent with smaller packing size. So I purchased in …
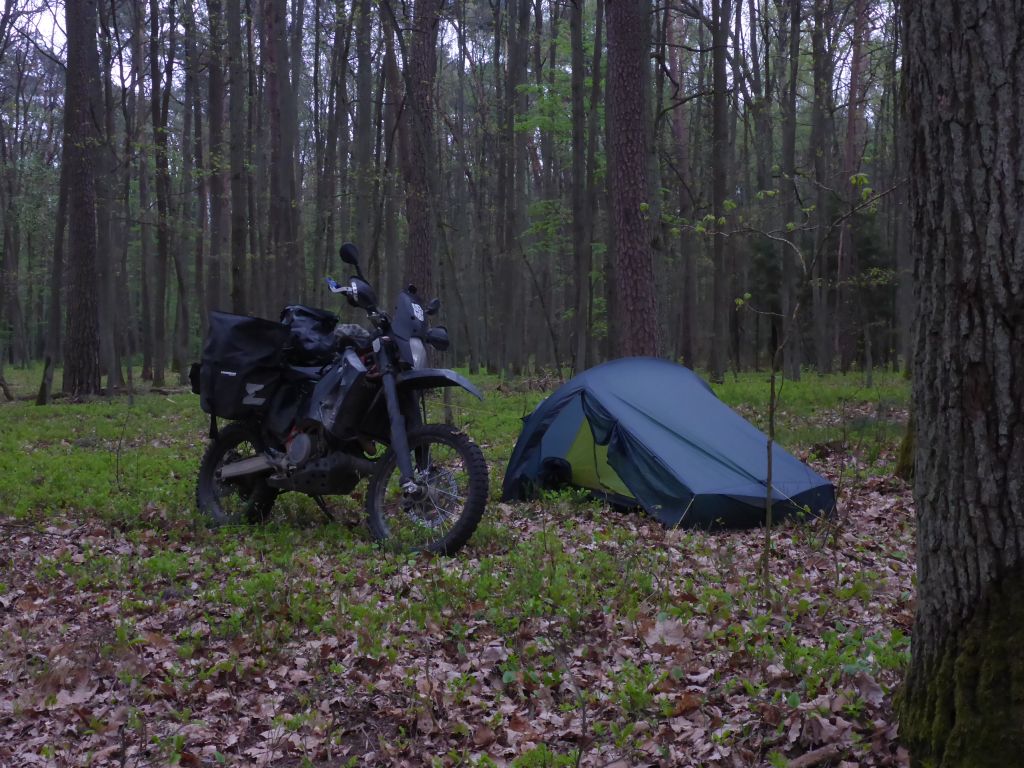
2018 a “Helsport Ringstind 1“. It’s a bit smaller than the former X2 was, but the offered space for person and gear is still enough for my needs. The material is very thin and the weight with about 1.2 kg or 2.65 lbs unbelievable light. That’s less than half the weight of the upper mentioned Coleman X2 or its successor!
After about fifteen nights with this tent, also along harsh conditions, I can say, that it was worth the high price (400 Euro) and it is fulfilling my needs during adventure riding. Besides the fact, that the pole segments of this tent are very long (1 segment = 39cm or 15,3 inch), which is a bit long for easy stowing it within the luggage, there are no real disadvantages for me with that tent. I use this tent combined with a strong plastic foil underneath, for protection of the tent floor and the sleeping pad.
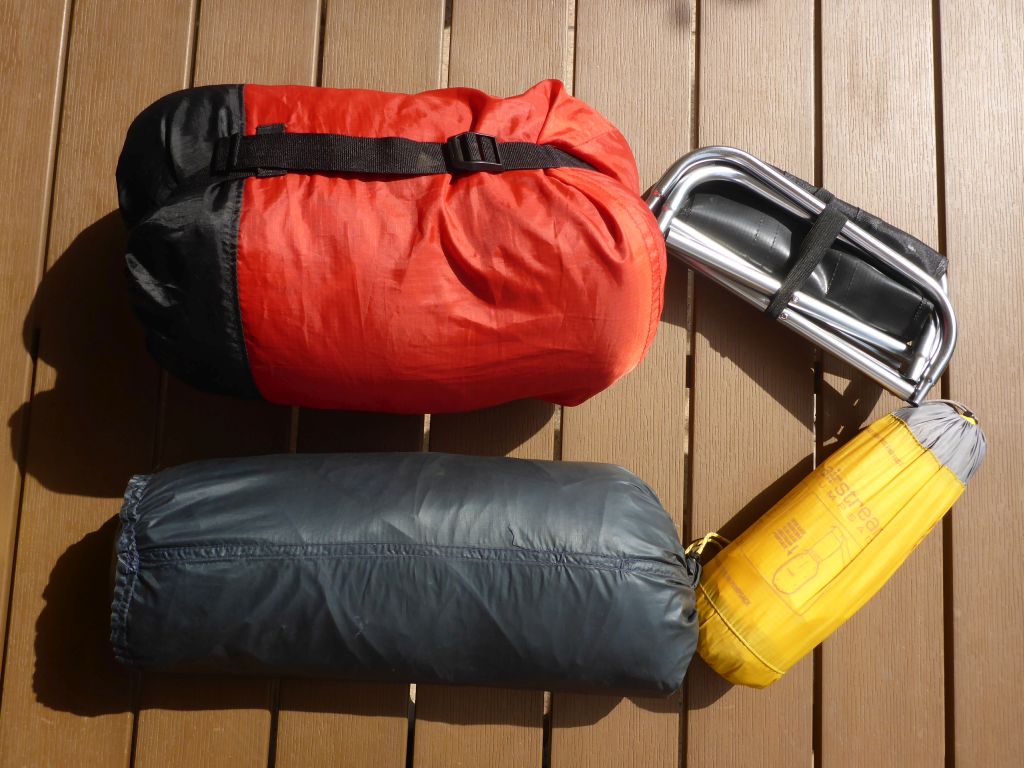
Compared to the sleeping bag (red bag) the camping stool and the sleeping pad (yellow bag) the packed Helsport Ringstind tent is tiny. Apropos:
SLEEPING BAG and SLEEPING PAD:
For a long time I used self inflating sleeping pads from different manufacturers. Because they tend to lose their ability for self inflation and the bulky packing size, I switched over to an upper price product, which is an “Ultralight Pad from Sea to Summit“. The packing size equals about the volume of a small water bottle. With about 12-15 breaths of air the pad is inflated quickly. The material of the pad looks a bit filigree, but with the sturdy foil underneath the tent floor I had til now no problems with leaks.
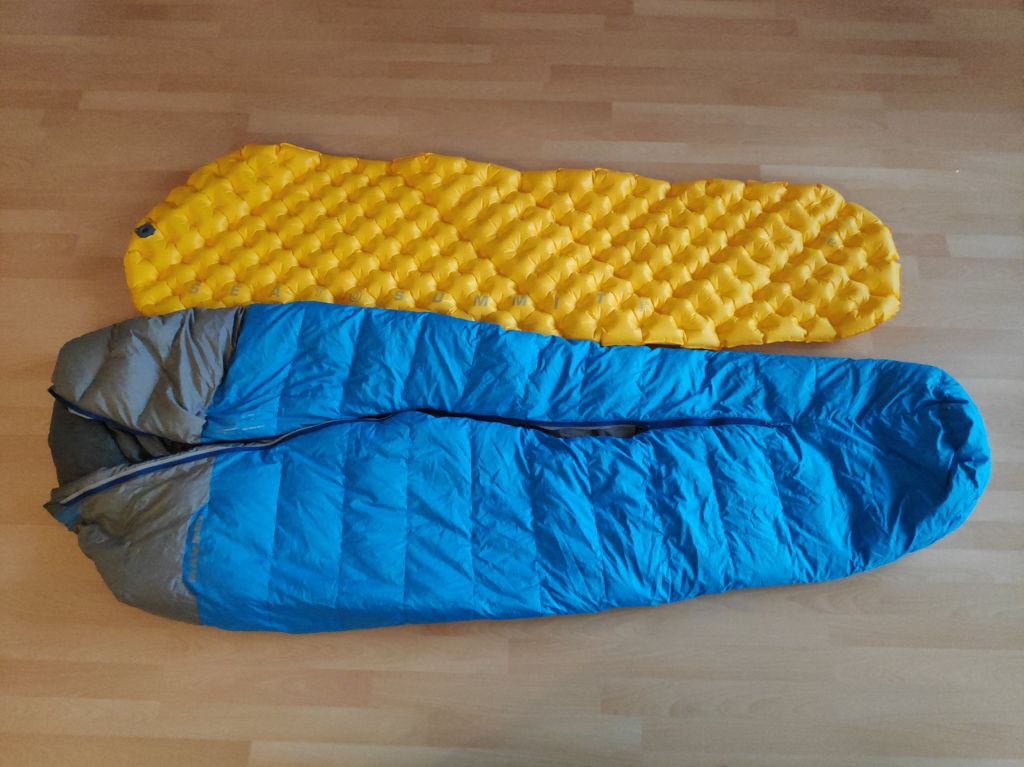
When it comes to sleeping bags everyone with a bit of experience will tell you, that duck down is the way to go. It costs a ton, but currently there is no modern man-made material, which is insulating better and is packing smaller than down.
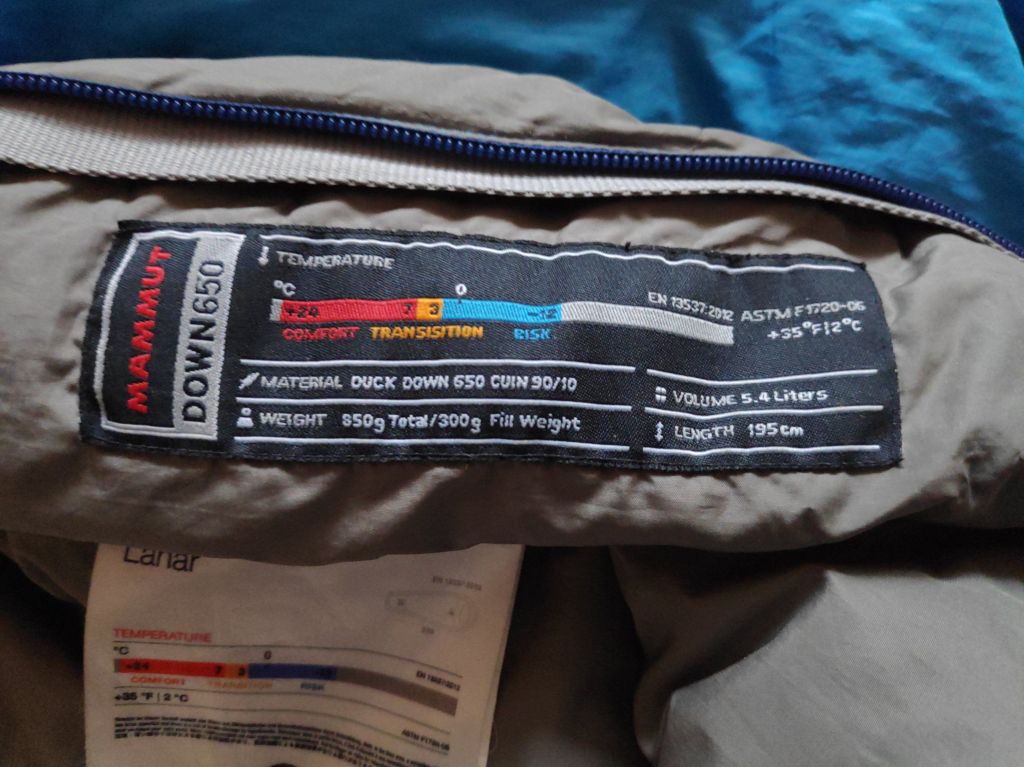
My model is one of the cheaper ones. It is a very old model from “Mammut” – type “Lahar Down EMT”. The sleeping bag is filled with 300 grams of CUIN 90/10 (=Fillpower) duck down. That means 90% of filling material are downs, 10% feathers. That is enough for a good three season sleeping bag, with a comfort zone which is reaching down close to the freezing point of zero degrees. The packing size with 5 Liters and the total weight with about 850 grams or 1,85 pounds is low.
Is wet down or moisture a problem for a down sleeping pad?
Short answer: It depends on the level of moisture and the exposing time of the downs in moist conditions.
Often people insist, that the downs in a sleeping bag will stick together when they get wet and this way the sleeping bag would offer no more insulation. After a bit of web search I found out, that this case only happens, when down get drenched completely and stays wet for a few days or longer. How often will it happen that the sleeping bag get drenched totally? Not really often, as long you don’t drive into a lake or fell over during a river crossing. In the meanwhile also the outer fabric of down sleeping bags evolved in a way, that little amount of spilled water would repel instead getting absorbed by the fabric.
For being on the safe side like me, you can do an easy fix for addressing this problem: Due to an exploded soda can in my luggage I started transporting my down sleeping bag and my sleeping wear in a little extra dry bag. This way it stays surely dry and the other advantage is, that the dry bag is able to compress the sleeping bag much more than the usual stowing bag can.
CAMPING CHAIR
My first camping chair was a simple steel tripod. Because it was very bulky I swapped it for one of these common lightweight camping folding chairs which are very cheap affordable:
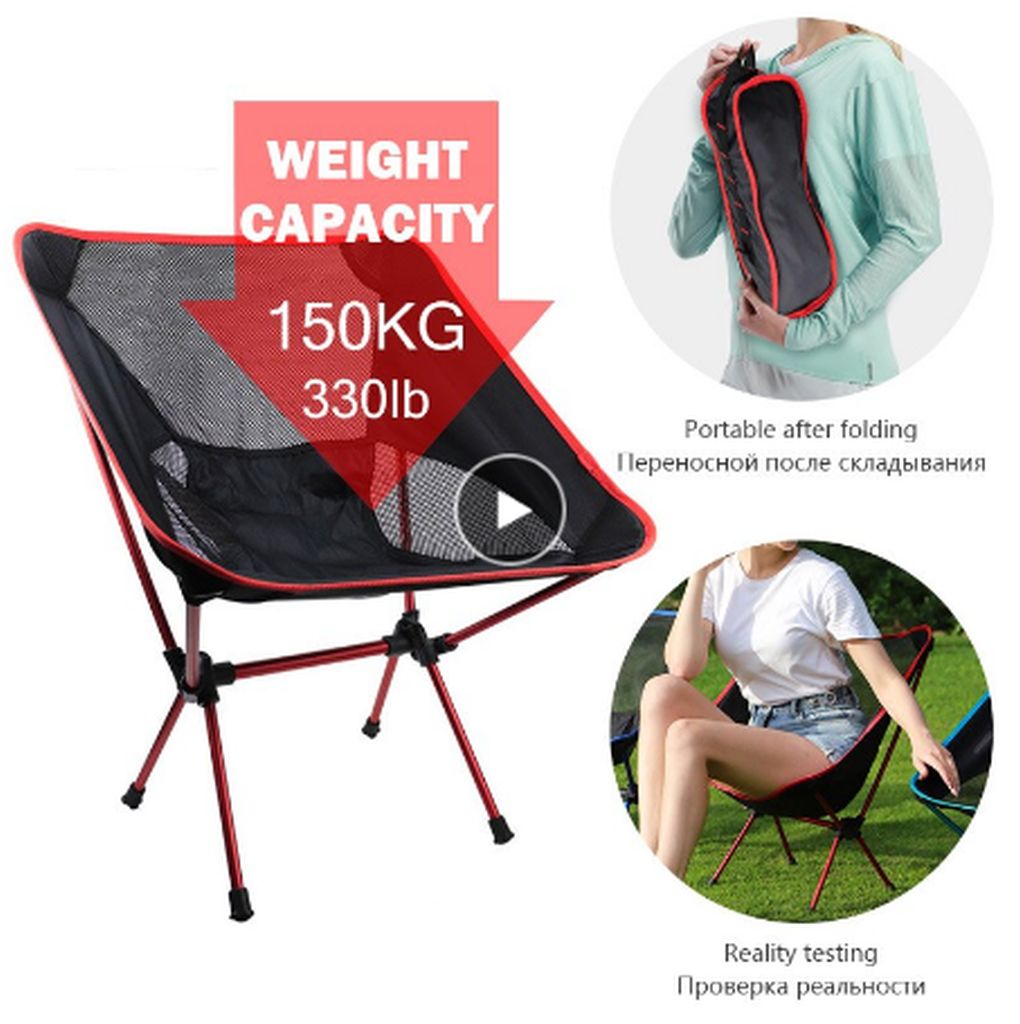
For about 15 dollars these chair type delivers plenty of comfort. But after three longer camping trips with it, I throw it out of my pack list. The reason for that was the bulky cumbersome packing format. (See picture above on the top right)
I also lost a few times its foot-rubbers in soft soil. It is very annoying, when you have to dig in the dirt for finding that tiny thing. With about 900 grams or 2 pounds that bulky stool is also no lightweight … .
So I bought another 10 dollar piece from a trusted Chinese shop:
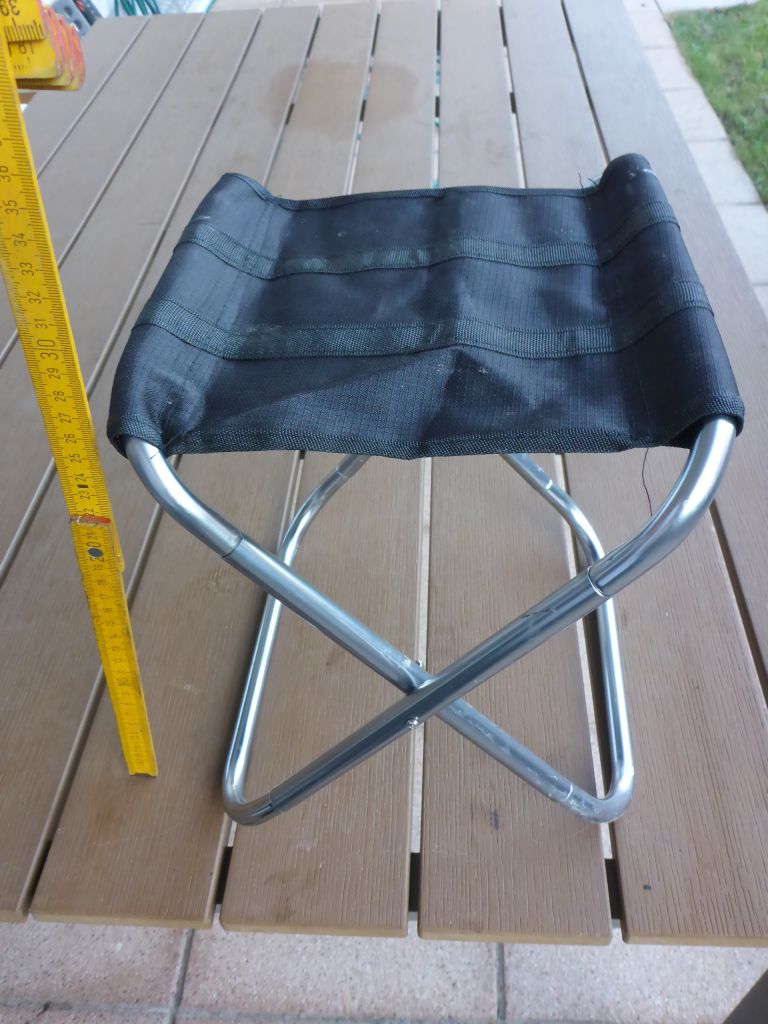
With about 270 gramms or 0,6 pounds its way less heavy and more important for me:

The packing size is tiny. The folded contour is flat and unfolded it’s big enough for my ass. The comfort is about the same as on a common tripod stool.
CAMPING KITCHEN & COOKING EQUIPMENT
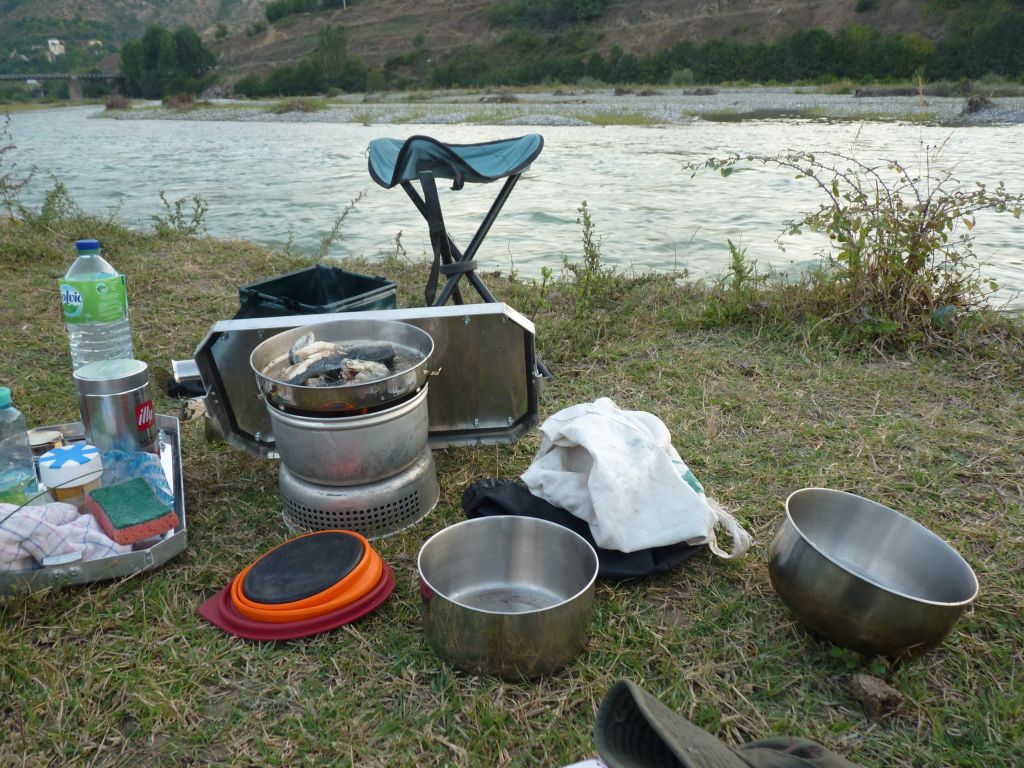
After an exhausting day in the saddle its great rewarding yourself …
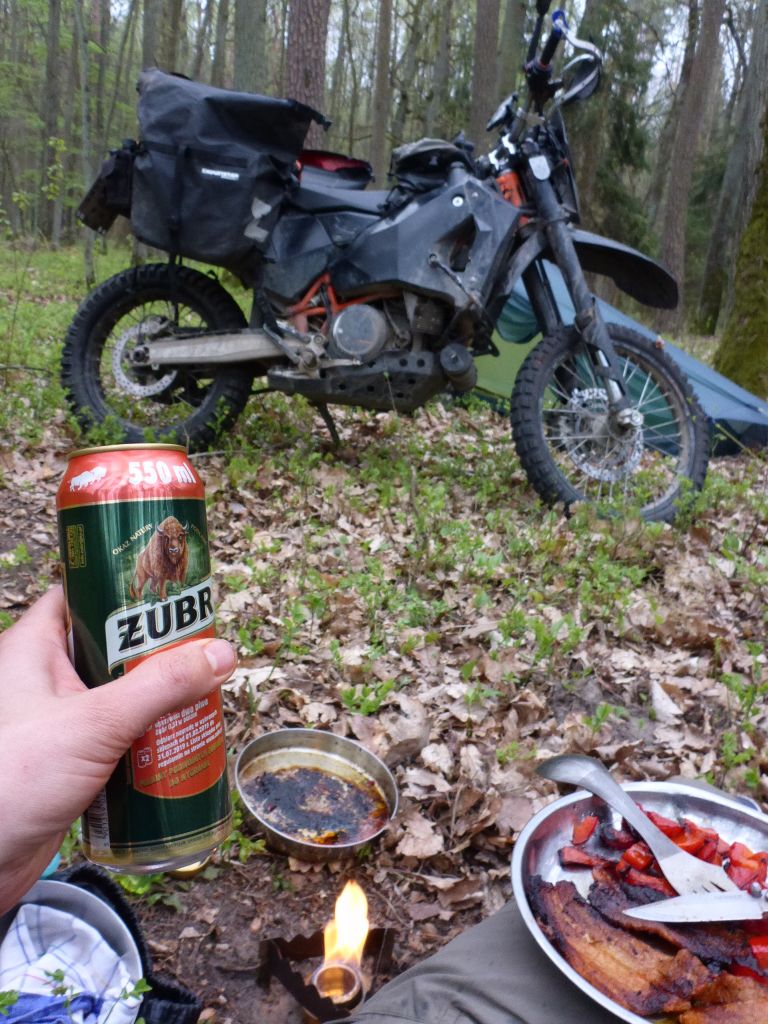
with a can of liquid gold and a proper meal. Therefore, you need some kitchen equipment. My proofed and optimized kitchen concept contains:
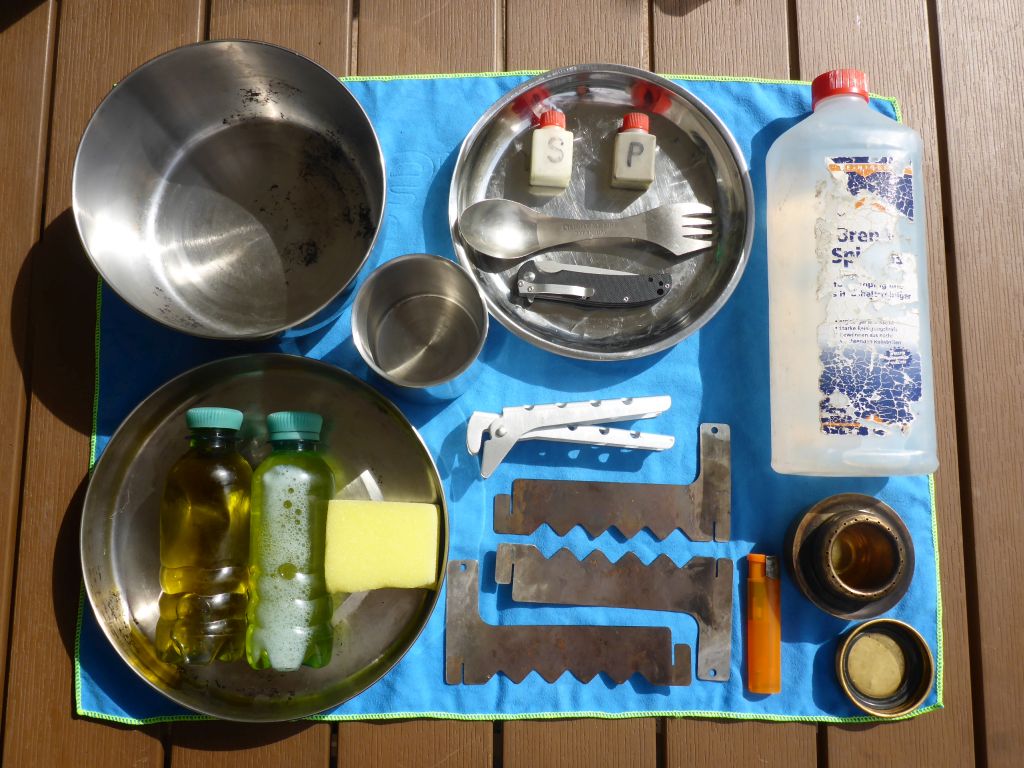
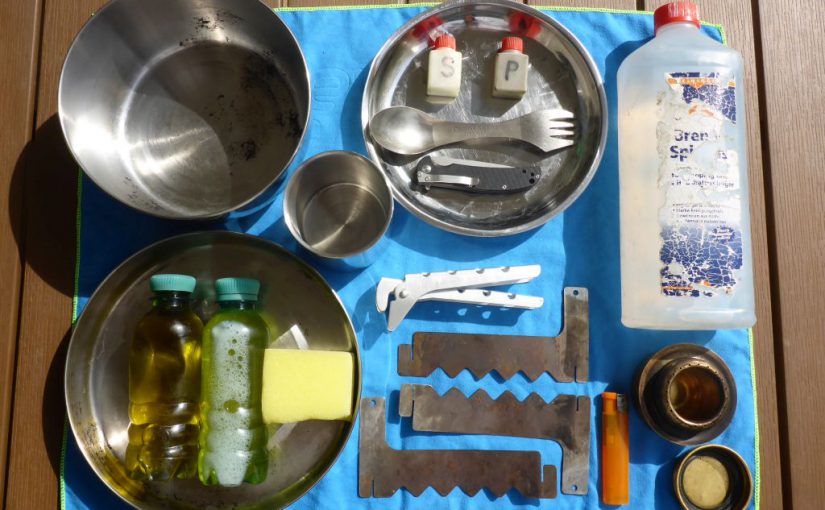
Beginning from top left: a blue dish towel, 1 liter stainless steel pot, 1 double wall stainless mug, one stainless dish, small salt & pepper bottles, a titanium spork, pocket knife, burner-alcohol, stainless steel pan, one bottle 200ml olive oil, 1 bottle 200ml dish washing fluid, tripod (3 parts), lighter and the alcohol burner.
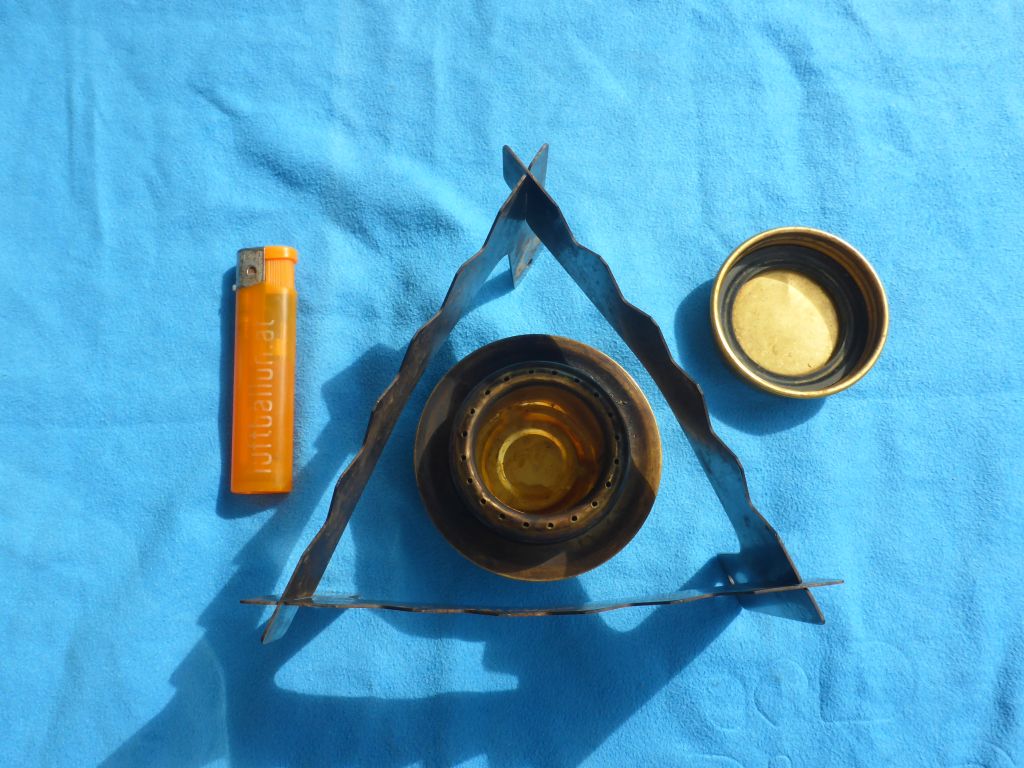
After playing a bit …
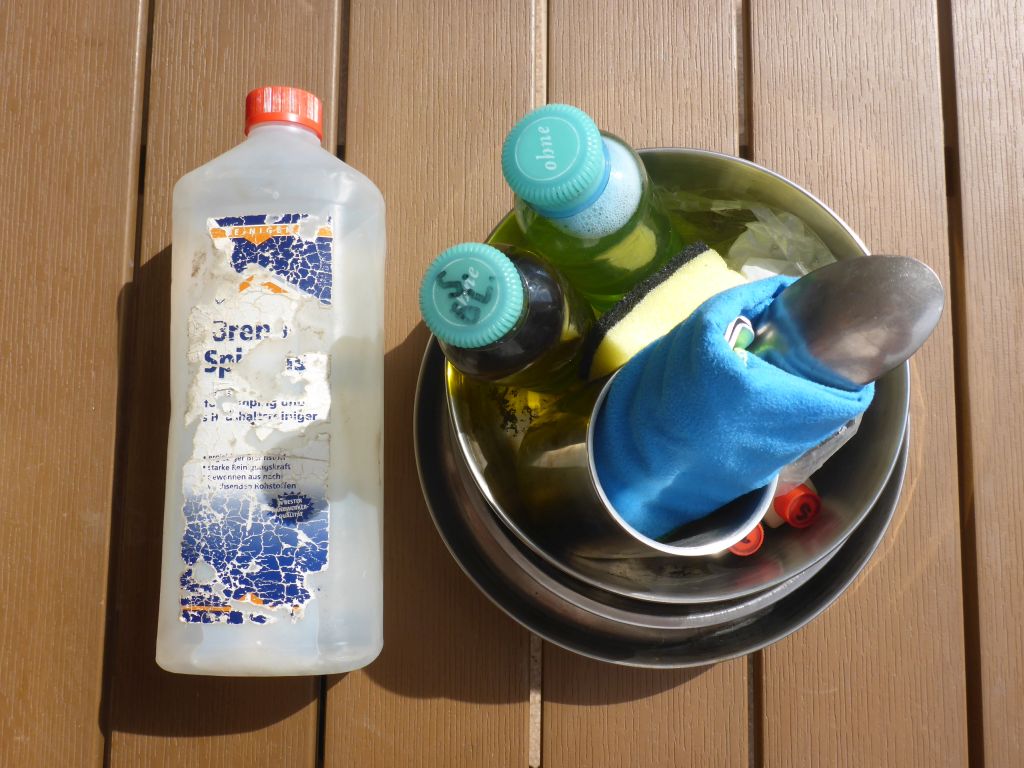
Tetris everything besides the refueling bottle with alcohol is fitting inside the flat pan.
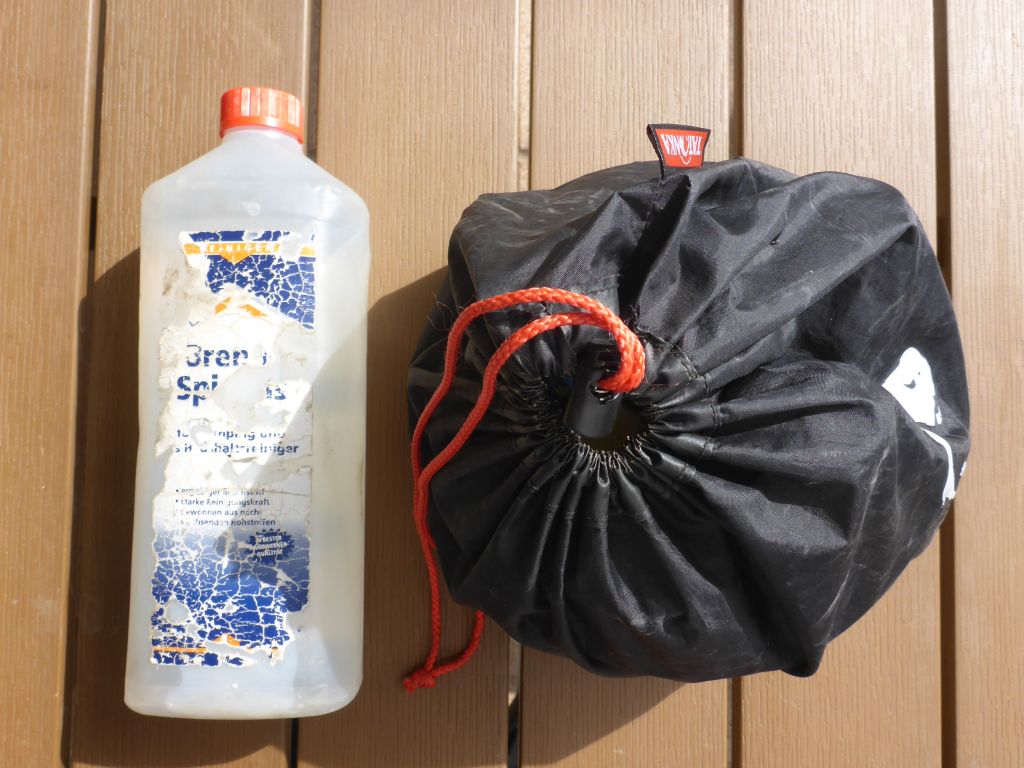
An additional cord bag is the best solution for stowing the cooking things inside the luggage bag on the motorcycle. That is my assortment for cocking a proper meal aside the road:
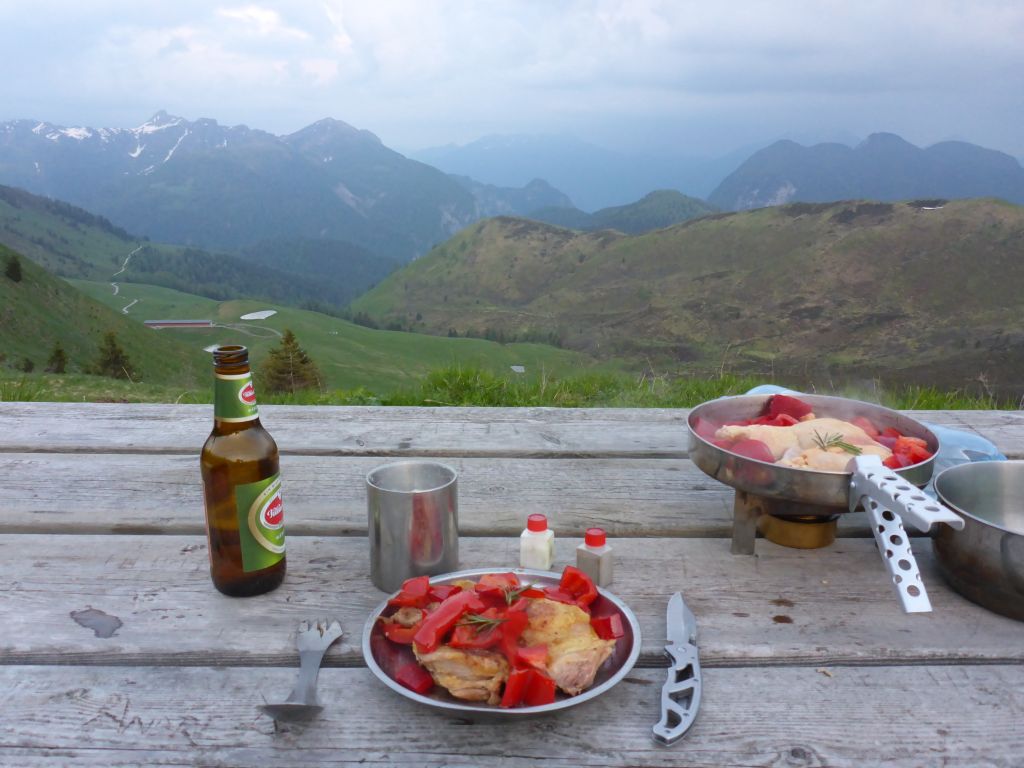
I hope you enjoyed this write-up about my choice of camping and kitchen gear. I already did two other relevant write-ups concerning motorcycle traveling: These are my optimized adventure packing list and also my tool- and spare part assortment. For further information have a look at the “Equipment Overview”.
Questions or remarks? –> Feel free to leave a comment!
Servus,
Tom
Interested in my doings? Than feel free to join my social media channels for further updates! ➡
